As I started hooking the electrical system back up I had some problems. First of all my 12V battery was very old and tested bad. But after I got my new battery I still could not start the tractor. I had power to the ignition switch because the head lights worked. I used my volt meter and found that all of the functions of my switch worked.
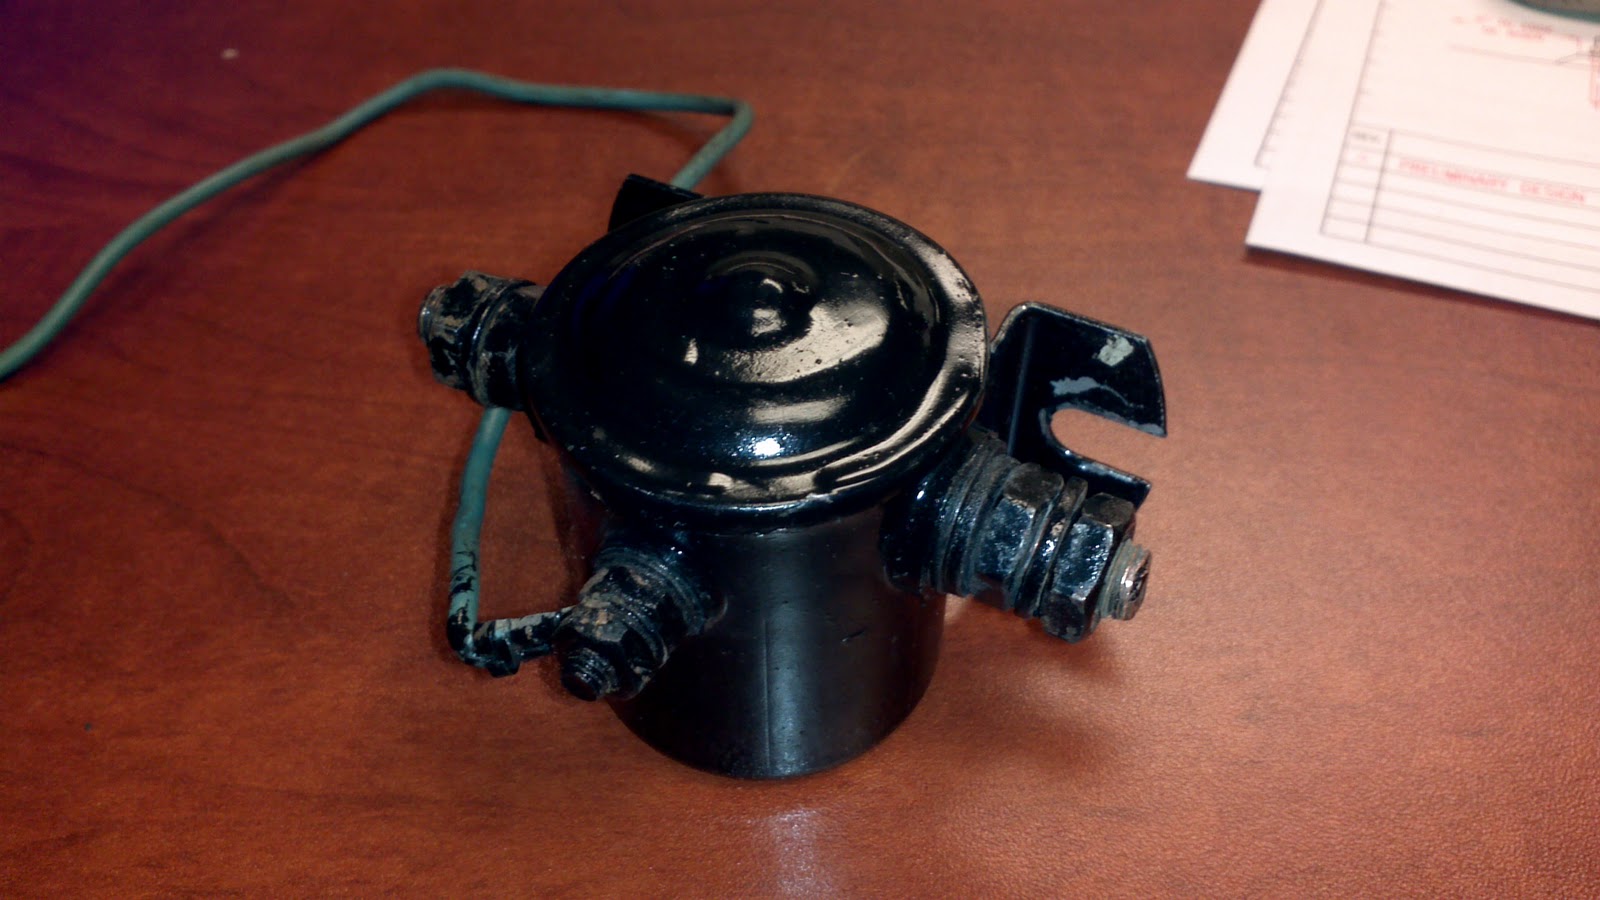
I tested the Starter Solenoid, and what I found, I did not understand. I had continuity between the main posts of the solenoid, which means the starter of the tractor should be energized? Then I tested continuity between the incoming post from the ignition switch and the battery post and there was continuity. So it was time to disassemble the solenoid to see how it was shorted. This is what I found:
You can see I already put some scratches in the new paint job. Oh well, I need it to work. I can touch them up later.
I simply use a wide flat screwdriver to pry the lid up.
This is the top of the plunger. The round copper disc gets pulled down and makes contact with the right and left bronze posts completing the circuit. This is what allows current to flow to the starter from the Battery.
The spring is to push the switch back open when the operator released the ignition switch.
This is looking down into the plunger hole. You may notice that the disc make contact with the bronze posts in the same place every time. When I reassemble this I will turn these around so that it has fresh surface to mate with in the future.
The post has a rubber insulating pad on the inside.
Through the canister housing is a nylon bushing that insulates the post from the housing.
The post that receives the current from the ignition switch is connected to the magnet wire that goes around the electromagnetic coil. Notice that the insulating washer has been damaged from where I had turned the post around when making the external connection to the switch wire. I also found that the side posts had done the same thing. That is why there was a short in the assembly.
The magnet wire was damaged and shorted against the side of the housing as well.
I removed the insulating washer and plan to reuse it but I will flip it over to have a fresh area around the critical areas.
This is the end of the coil wire. It simply is striped at the end and makes contact with the steel disc on the top which makes contact with the housing, which makes contact with the tractor dash to complete the circuit.
The coil did not look damaged at all so I did not take the time to rewind it.
I reassembled it careful to insulate everything to where it should be and tightened everything so that the posts will not make contact with the steel disc. I should work now.
Now I have another problem. I may have fried other stuff because the starter will not do anything when I bypass everything and the lights will not work at all. I checked all of the switches and they work. I will keep you posted when I figure it out.